There’s nothing quite like opening all your campervan or car doors and soaking up a stunning vista or ocean view—but sometimes you have to stay in a Walmart parking lot or truck stop…
…and the last thing you want is a stranger peeking in your window.
I’ve spent the past year traveling full-time in my van and I’ve wrestled with duct tape, reflectix, blankets, hot glue and fabric—you name it and I’ve probably tried it.
A lot of attempts failed. But I finally figured out how to completely black out the inside of my camper van and have it look cute on the inside.
So here’s everything—and I mean everything—you need to know about having the perfect window coverings for your camper van, car, any other home on wheels.
The Ingredients for the Perfect Camper or Car Curtains

Window coverings in a vehicle serve multiple purposes. Finding the right mix of ingredients is important for keeping you cool, safe, and comfortable.
Here are some of the most important components to the perfect diy camper curtains.
1. Insulated
Many homes have double-walled windows, but this isn’t generally the case in a car, truck, or camper. Having window covers with insulation will make a drastic difference in keeping you warm in the winters and cool in the summers.
I’ll talk about all the options to insulate your curtains in the materials section below.
2. Completely Blackout
There are plenty of reasons why you’d want your curtains to be completely blackout. First, Walmart parking lots and truck stop lighting are really abrasive and not relaxing at all. Keeping that awful orange light out will help you get a better night’s rest overall.
Also, when I moved into my van I seriously downplayed the importance of not showing the lights from outside the van. I never wanted to have to stealth camp or make my van look unoccupied. However, the truth is, it’s been unavoidable.
Skip the headache of sleeping on the streets of San Diego during the winter where the sun sets at 5pm and you have to pretend you’re not in your van. Oh, and your window coverings suck so you just have to lie there in the dark because you don’t want a hefty ticket for sleeping in your vehicle. Yes, that is a niche situation, but it’s not that uncommon of a situation for some van and vehicle dwellers.
3. Easy To Put Up & Take Down
Trust me—you’re going to get really tired of setting up and tearing down your window coverings if they’re a pain to put up.
There are ways to make your curtains super quick and easy to use, and you’ll thank me for it later. Again, we’ll outline all the methods you can use to hang your curtains below.
4. Sturdy
Window coverings are going to be handled and tossed around every day; make sure they are nice and sturdy so they can withstand the wear and tear of being on the road.
5. Stylish
Maybe having a stylish interior isn’t important to you, and that’s totally okay!
For most, it helps life on the road feel more comfortable and relaxing to have a nice aesthetic. Sometimes I want to block out the outside world and relax in my stylish and comfortable home.
As great as the silver Reflectix is at keeping the sun out, it’s not very cute or appealing to look at. We’ll talk about how to make your window covers look good.
The Best Fabrics & Materials for DIY Curtains
Here are the layers that will make up the best DIY car and campervan curtains.
Insulation Layer
There are several great insulation layer options for DIY camper curtains.
Reflectix
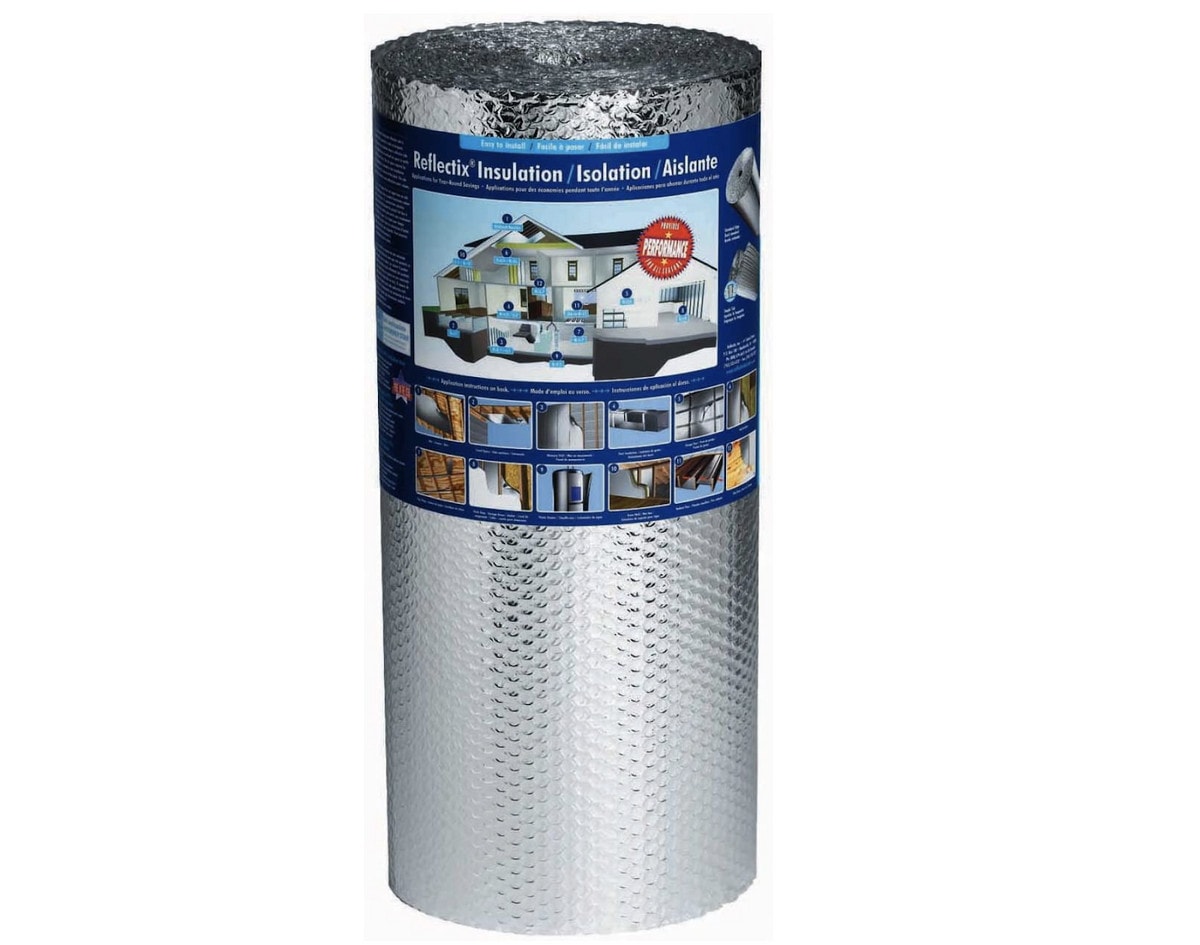
Reflectix is one of the most popular choices for making car and campervan covers. The silver material is great at bouncing the sun’s rays away from your windows instead of letting them in. However, it is important to note that Reflectix needs the right environment to work properly.
If you plan on covering the layer facing your window, you will lose some of the efficiency of the insulating properties. According to the manufacturer, to install Reflectix properly and keep its R-value, you need to leave a 2 to 3 inch gap on either side of the material for it to work properly.
Unfortunately, Reflectix also looks like silver bubble wrap which doesn’t make for the most appealing or cute solution. It also detracts from your stealthiness.
Pros: Great for insulation, easy to cut, blocks out some light.
Cons: Doesn’t look nice, loses efficiency if covered, stiff and hard to store in a small space.
3m Thinsulate
3M Thinsulate is one of the absolute best insulation options you can use for your window covers. This stuff is completely non-toxic, easy to use, and very thin. Thinsulate is highly effective at keeping your space insulated and provides an R-value of 5.2.
This is my number one recommendation for insulated window coverings. However, the main downside is that this stuff is a little pricey. It costs about $11 per linear foot, or 5 square feet.
Pros: Easy to use, wonderful insulator, thin.
Cons: Expensive.
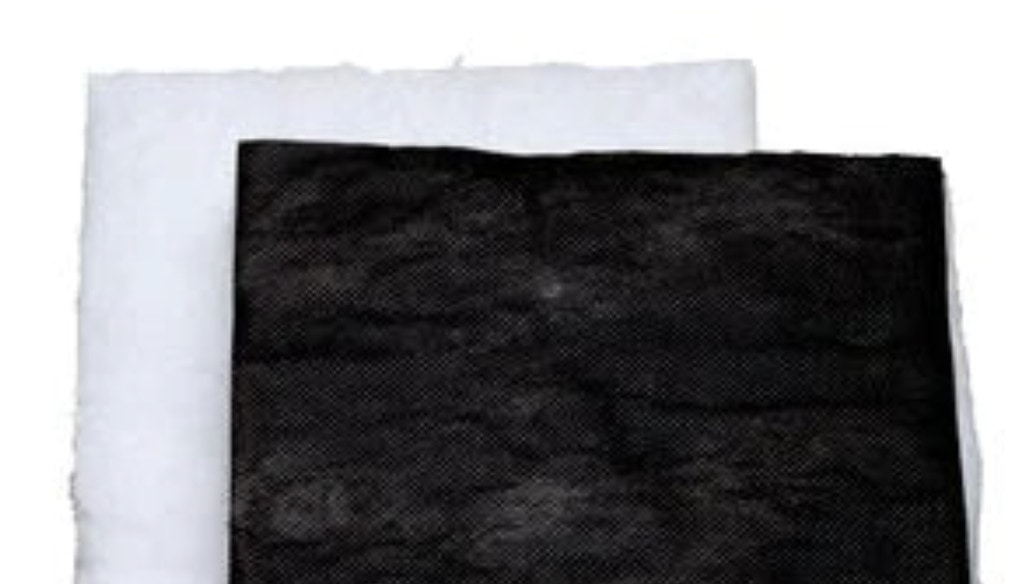
Quilt Batting
Quilt batting is the route I decided to go in insulating my van curtains. My window coverings were sewn together, and I’m familiar with sewing quilt batting. Not only that, but both polyester and cotton quilt batting are decent insulators and great for both keeping heat in and out.
Polyester is a little bit harder to work with than cotton since it’s slippery, but it’s warmer than cotton overall. Quilt batting is also readily available at most craft stores like Michaels, Hobby Lobby, and Joannes.
Pros: Inexpensive, easy to find, easy to work with.
Cons: Doesn’t block out light.
Black Out Layer
Whether or not you need an extra black out layer in your windows will depend on what other fabrics and insulators you use. If you’re using a premium black out material with something like Reflectix, you’ll most likely be able to skip this step.
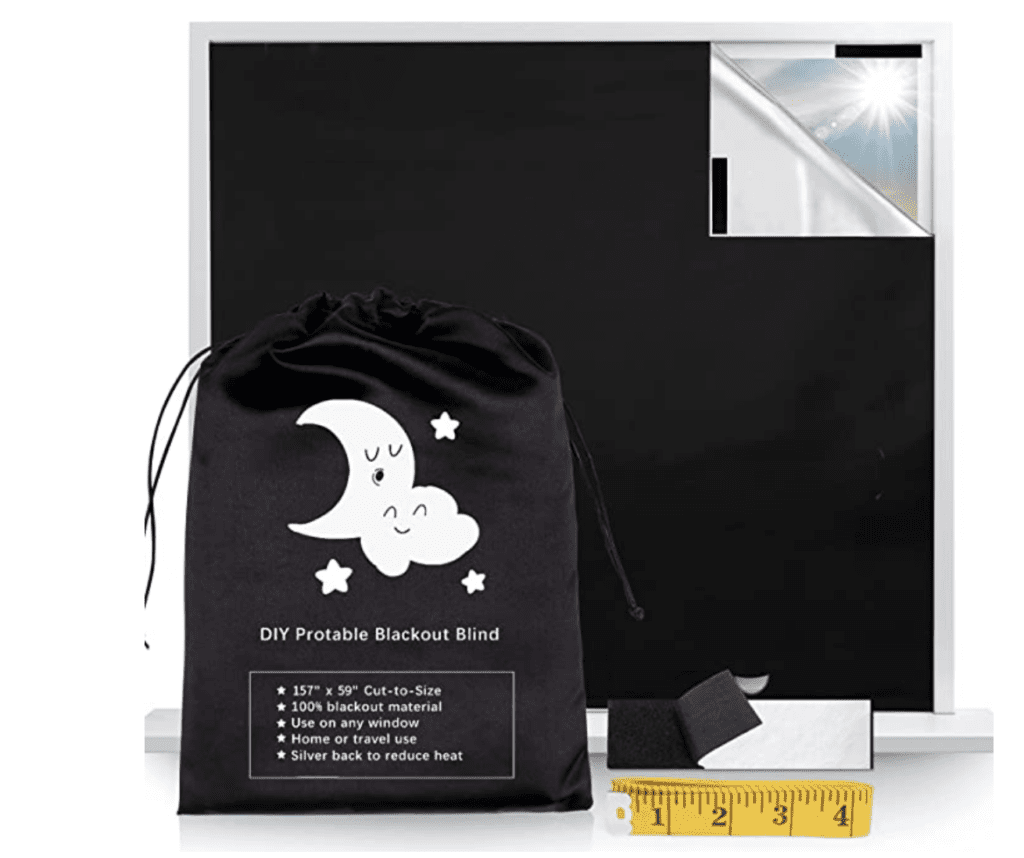
As stated previously, I used quilt batting which doesn’t keep light in or out, so I opted to include a layer that was completely black out for good measure.
I used this Vanten Portable Blackout Curtain. It’s inexpensive and comes with plenty of fabric. I was able to cover all six of my main windows with just one sheet of this stuff.
It’s lightweight, easy to work with, 100 percent blackout, and dirt cheap. I don’t have a single complaint about this stuff. I’d buy it again in a heartbeat.
Outside Layers
This is where you can get creative with your design skills.
If you’ve ever purchased good quality fabric, though, then you’ve surely experienced the sticker shock of buying a few yards. It’s surprisingly pricey!
Here are some of the best spots to shop for fabric and some tips and tricks to help you decide:
Hobby Store or Fabric Store
The most obvious place to shop for fabrics is at a hobby store or fabric store like Joannes, Hobby Lobby, Michaels, or even Walmart.
Buying fabric from these places adds up quickly, especially when you’re buying a premium fabric with a stylish pattern. The good thing is that these stores often run sales and offer coupons.
I highly recommend you download the apps for Michaels, Joannes, and Hobby Lobby and keep your eyes peeled for sales on fabrics. This can easily save you 30-75 percent on fabric, and they run sales fairly often.
Etsy
If you love supporting smaller artists, Etsy is a great place to do so! I also have found that the fabrics on Etsy are some of the most stylish and exciting on the internet. Again, fabric can get expensive, so keep your eyes peeled for any deals.
Thrift Store
As an incredibly thrifty and budget friendly shopper, I opted to thrift the fabric for my curtains. While you won’t find fabrics you can purchase by the yard, there are often tons of comforters, duvets, sheets, and blankets that are made of gorgeous and high quality fabrics.
My window coverings were all made from a set of black sheets and a queen size duvet cover. I’m no stranger to shopping for fabrics, and the duvet cover fabric alone easily would have cost me close to $100 at a craft store at retail price. I left Goodwill spending $17, and that included a Coke!
How To Make Your Own Window Covers
Once you have all of your materials handy, you’ll want to start assembling your new beautiful blackout window shades. I’ve done this with both a sewing machine and a hot glue gun before. You could also use another heavy duty glue like E6000 or Gorilla Glue.
The obvious “better” choice is a sewing machine, but my temporary window curtains I made on the beach in San Diego were made with a hot glue gun, and they did a fantastic job till I could get my hands on a sewing machine.
You should also have:
- A high quality pair of fabric scissors
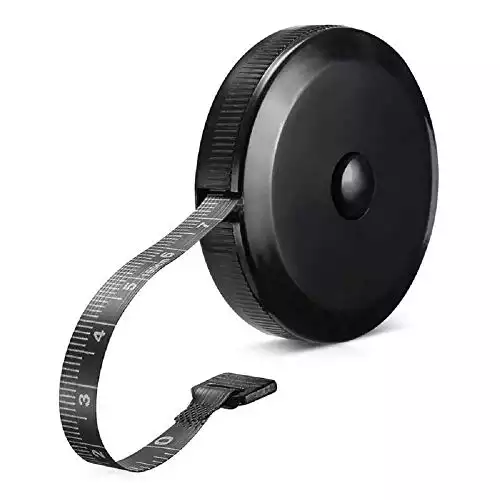
- Tape measure
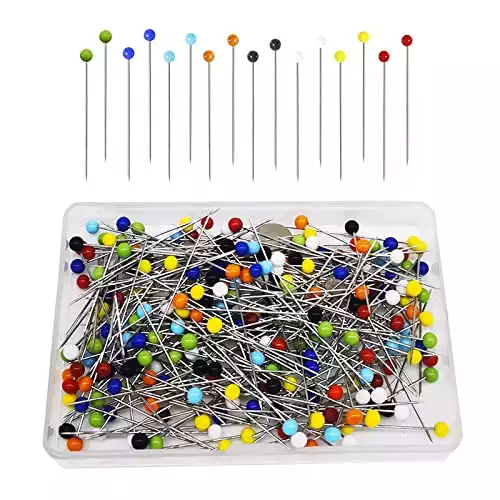
- Sewing pins to keep all of your fabrics lined up
Regardless of what method you choose, here are the most important steps to follow:
1. Measure Your Windows Accurately & Add A Couple Inches
This is important for two reasons:
- First, you want your window cover to have plenty of room around the edges to block out all of the sides to prevent anyone from being able to see in.
- Next, you’ll need about a quarter of an inch on all sides for seam allowance.
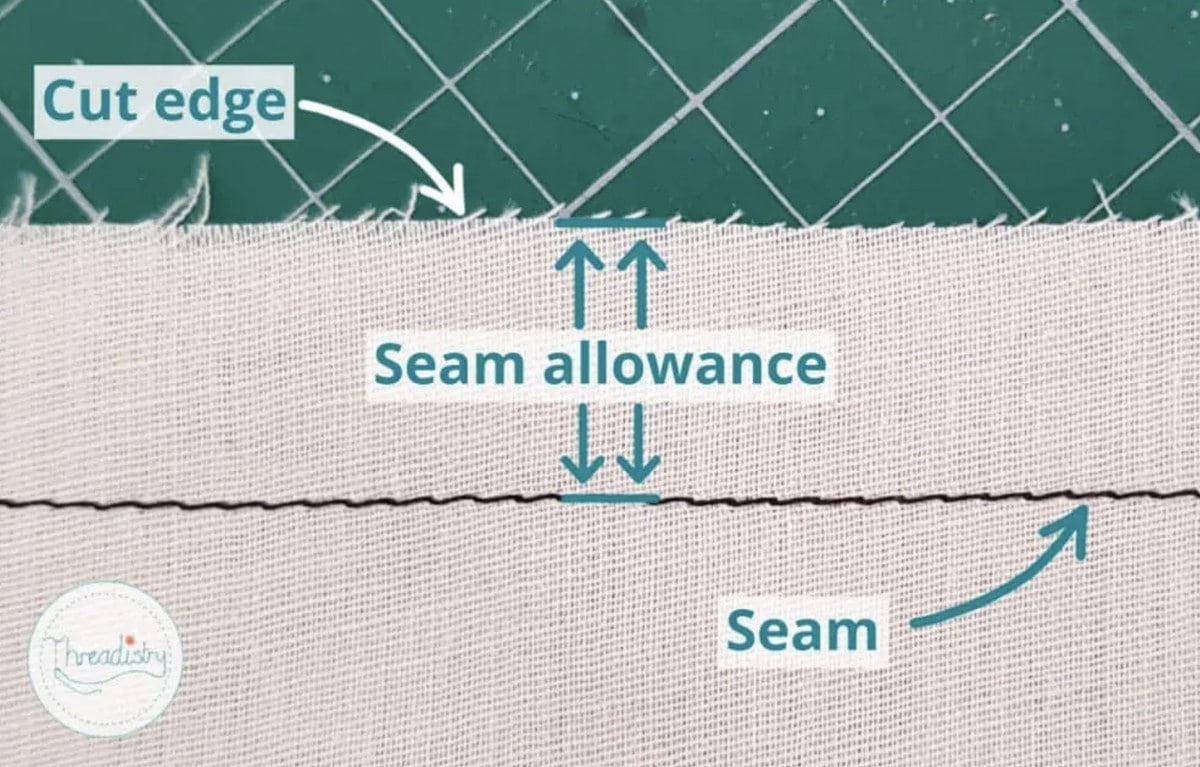
Photo Courtesy of Threadistry
2. Assemble Fabrics Inside Out
Depending on how many layers you have, assembling your fabrics as they would look inside out can be a little tricky. Just be sure that your top fabric and back fabric are facing each other in the middle of all of the layers before you start stitching or gluing.
3. Optional: Add Wooden Dowels
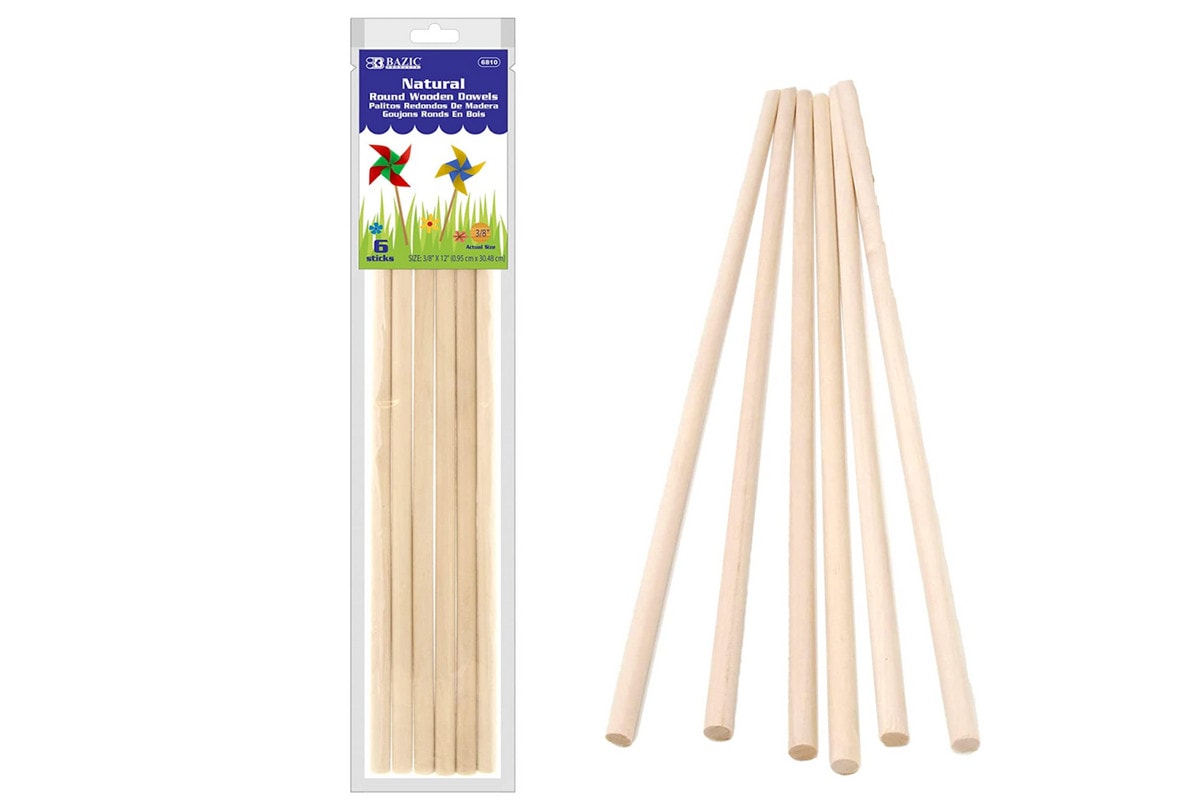
I knew at the start of my project that I wanted my curtains to roll up when I didn’t need them because I didn’t have a good space to store them. This meant that I needed a little bit more structure to keep my curtains from sagging and to stay straight.
I decided to sew a little internal pocket to house a wooden dowel to keep them straight and structured when they were rolled up. This was a slightly more advanced sewing project, but you could definitely opt to just glue the dowel in to keep it simple.
4. Leave Enough Space to Turn Your Project Inside Out
You need enough space on the last edge of your cover to turn your project inside out after. If you’re using Reflectix, you’ll want to wait until your project is inside out to slide this layer in. You can then close up this portion by hand stitching a hidden seam, doing a top stitch, or just gluing the tucked edges in.
How To Install Your New Window Covers
How you install your window coverings will depend on the unique design of your camper van or car and the weight of your finished project. Here are a few options:
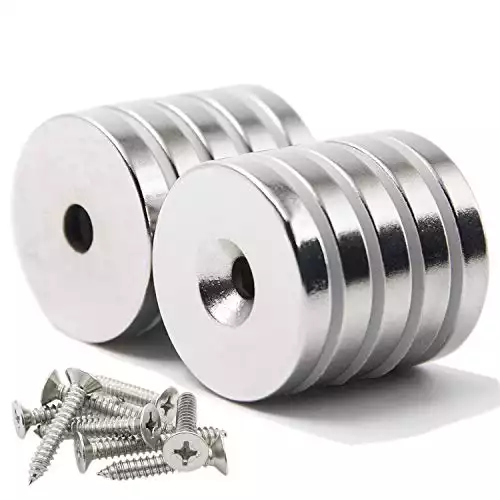
Magnets
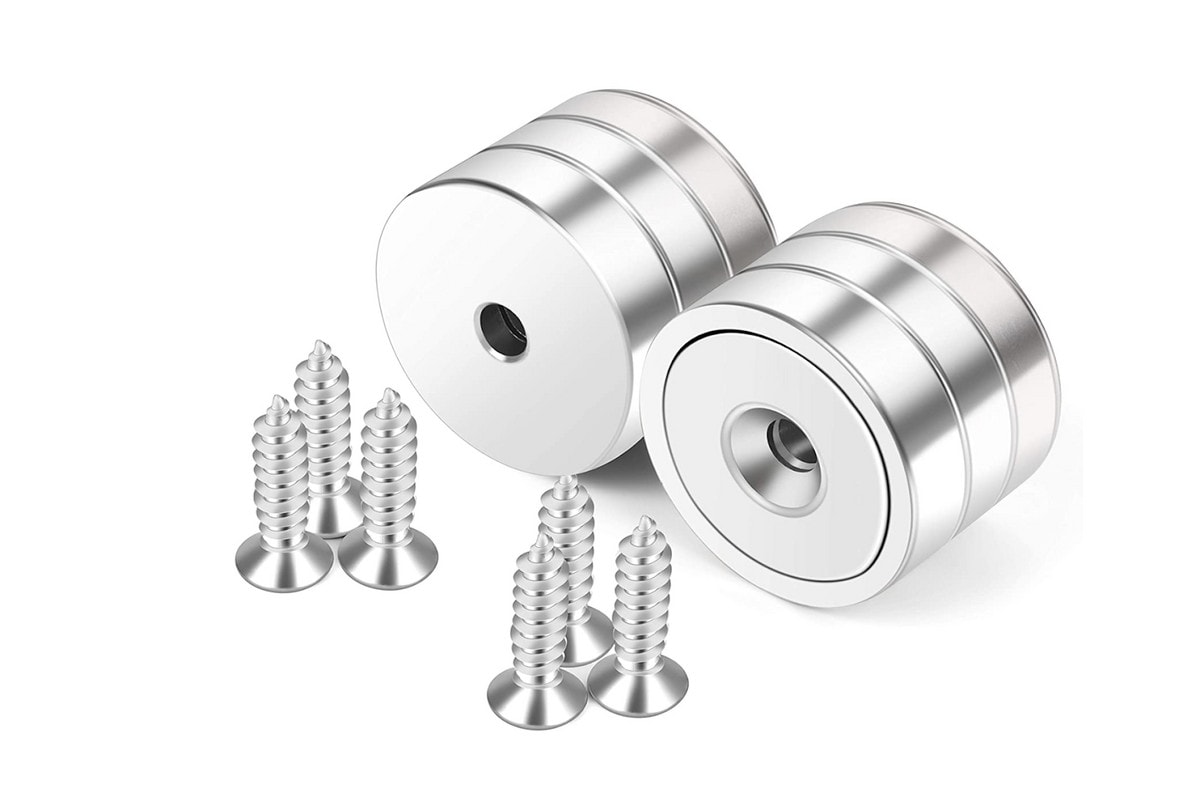
One great option for keeping your window coverings on is by using magnets. Just be sure you have magnets that can hold the weight of your curtains properly. Also, be sure that you adhere your magnets onto your curtains in a way that’s strong enough to stick long-term.
The best solution would be to get magnets with a hole in them like these Neosmuk Magnets, and hand sew them in.
Glue is the obvious next choice, but bear in mind that the type of glue you choose matters! You’ll need a glue that can expertly attach to both metal and fabric.
The best option is to use a two-part epoxy adhesive like the Gorilla 2 Epoxy Glue. This can get kind of messy, though, and requires ample time to dry.
You could also try super glue, hot glue, or E6000. However, I’ve had really disappointing results with these in the past.
When shopping for magnets, choose some that are made with Neodymium. They are the strongest commercially available magnets and totally worth the extra cost.
Velcro
Velcrow is a solid option for installing your window curtains. However, just like magnets, finding a way to adhere your velcro can be tricky. I used several types of glue and double sided tape on other diy curtains and I never was able to get it to properly stick to the metal of my van.
Also, velcro isn’t that attractive to keep around your windows and can be incredibly annoying because it loves to pull your hair as you walk by.
Screws
In my last and final curtain rendition, I opted to sew up some reinforced straps and screw them into the top of my window frames on my doors. This has hands down been the best option for my back windows.
However, because the shape of my driver and passenger side windows is funky I ended up sewing a button on a reinforced tab and screwing that in. Now I just button my front window coverings in at night.
Tips For Personalizing & Customizing Your DIY Curtains

Window coverings can really elevate the overall aesthetic of your space, so you could always take things one step further and add some customization.
Some great options for customizations would be to add tassels, stylish ties, or even get them embroidered with your van’s name or a clever design.
Also be sure to choose your fabric carefully. Instead of just focusing on color, also pay attention to the texture, quality, and print of your fabric. The most readily available fabric in most craft stores will be cotton, however you could also use other types like silk, burlap, or linen.
There are plenty of online stores that you could ship your curtains to and have them embroidered. A quick Google search will let you know if there is a local shop nearby that can customize your curtains for you too.
The ETSY shop CustomEmbroideryDigi will even send you custom patches you can adhere to your curtains yourself.
Other Things To Consider
One of the biggest concerns I have with my window coverings is safety. For the most part, they increase my safety by keeping prying eyes out and making my space more stealthy.
However, if there were ever a time that I needed to quickly pack up and dash out of an uncomfortable or dangerous situation, it would unfortunately take me a couple minutes to clear my windows enough to see out of. Magnet curtains that quickly pull down would be much better than a roll-up design in the case of an emergency.
As for washing your curtains, it’s recommended that you pay attention to the care instructions of all of the materials you use. The best option would be to bring them in to be dry cleaned or hand wash them and hang them out to dry.
Frequently Asked Questions
Here are some of the most common questions about vehicle curtains:
Are curtains allowed in cars?
Yes, but bear in mind that it is illegal to keep them closed or obstruct more than 30% of your windows while driving.
How do you cover windows while sleeping in a car?
If you haven’t made your permanent window coverings yet, you could always use velcro or magnets to drape fabric over your windows while you sleep.
Are sunshades legal?
Yes, sunshades are legal, but only while the vehicle is parked. You are required to keep your windshield as well as your driver and passenger side windows fully unobstructed while driving.
Can you change curtains in a camper?
Yes, updating curtains in a camper is fairly straightforward and is a quick and relatively inexpensive upgrade. You can make your own privacy curtains or just use regular blackout curtains.
What is the best fabric for camper curtains?
The best fabric for camper curtains would be high-quality cotton or marine grade fabrics. Any fabric that dries quickly and can hold up to the sun will do.
How do you hang curtains in an RV?
The best ways to hang curtains in an RV are either by hanging a traditional curtain rod and curtains, or by using strong magnets or velcro to adhere them.
Related Reading: